

COMPONENTS AND SUPPLIES
| Arduino UNO | × | 1 | ||
| Breadboard (generic) | × | 1 | ||
| Single Turn Potentiometer- 10k ohms | × | 1 | ||
| LED (generic) | × | 1 | ||
| Resistor 1k ohm | × | 1 | ||
| Jumper wires (generic) | × | 1 |
APPS AND ONLINE SERVICES
ABOUT THIS PROJECT
Abstract
- This project demonstrates working with a potentiometer.
Also visit here.
Objective
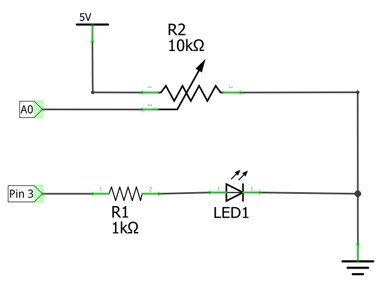
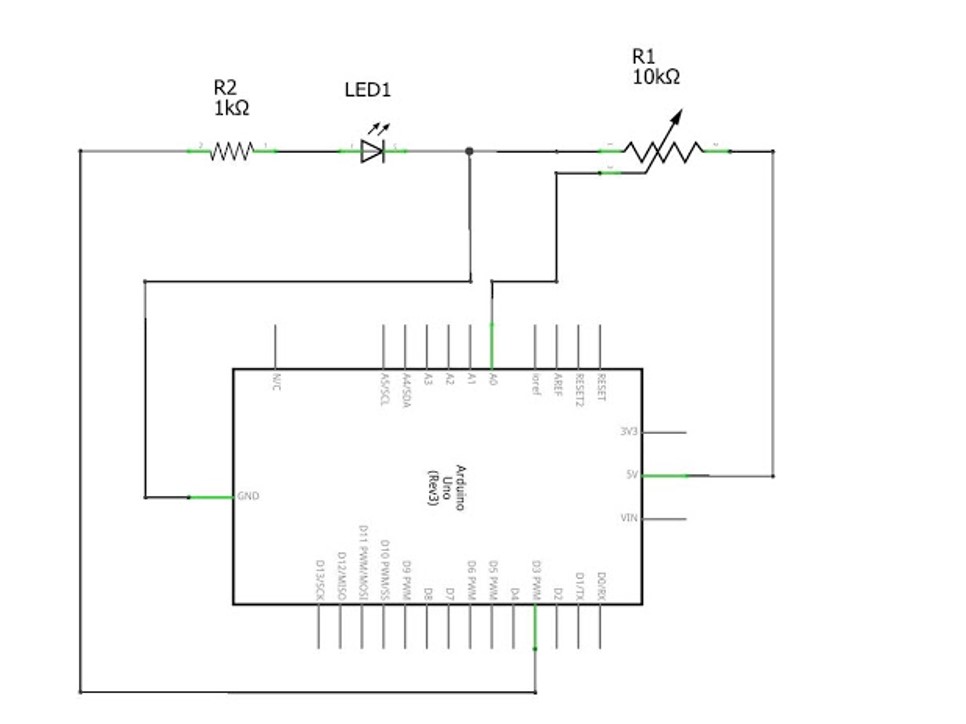
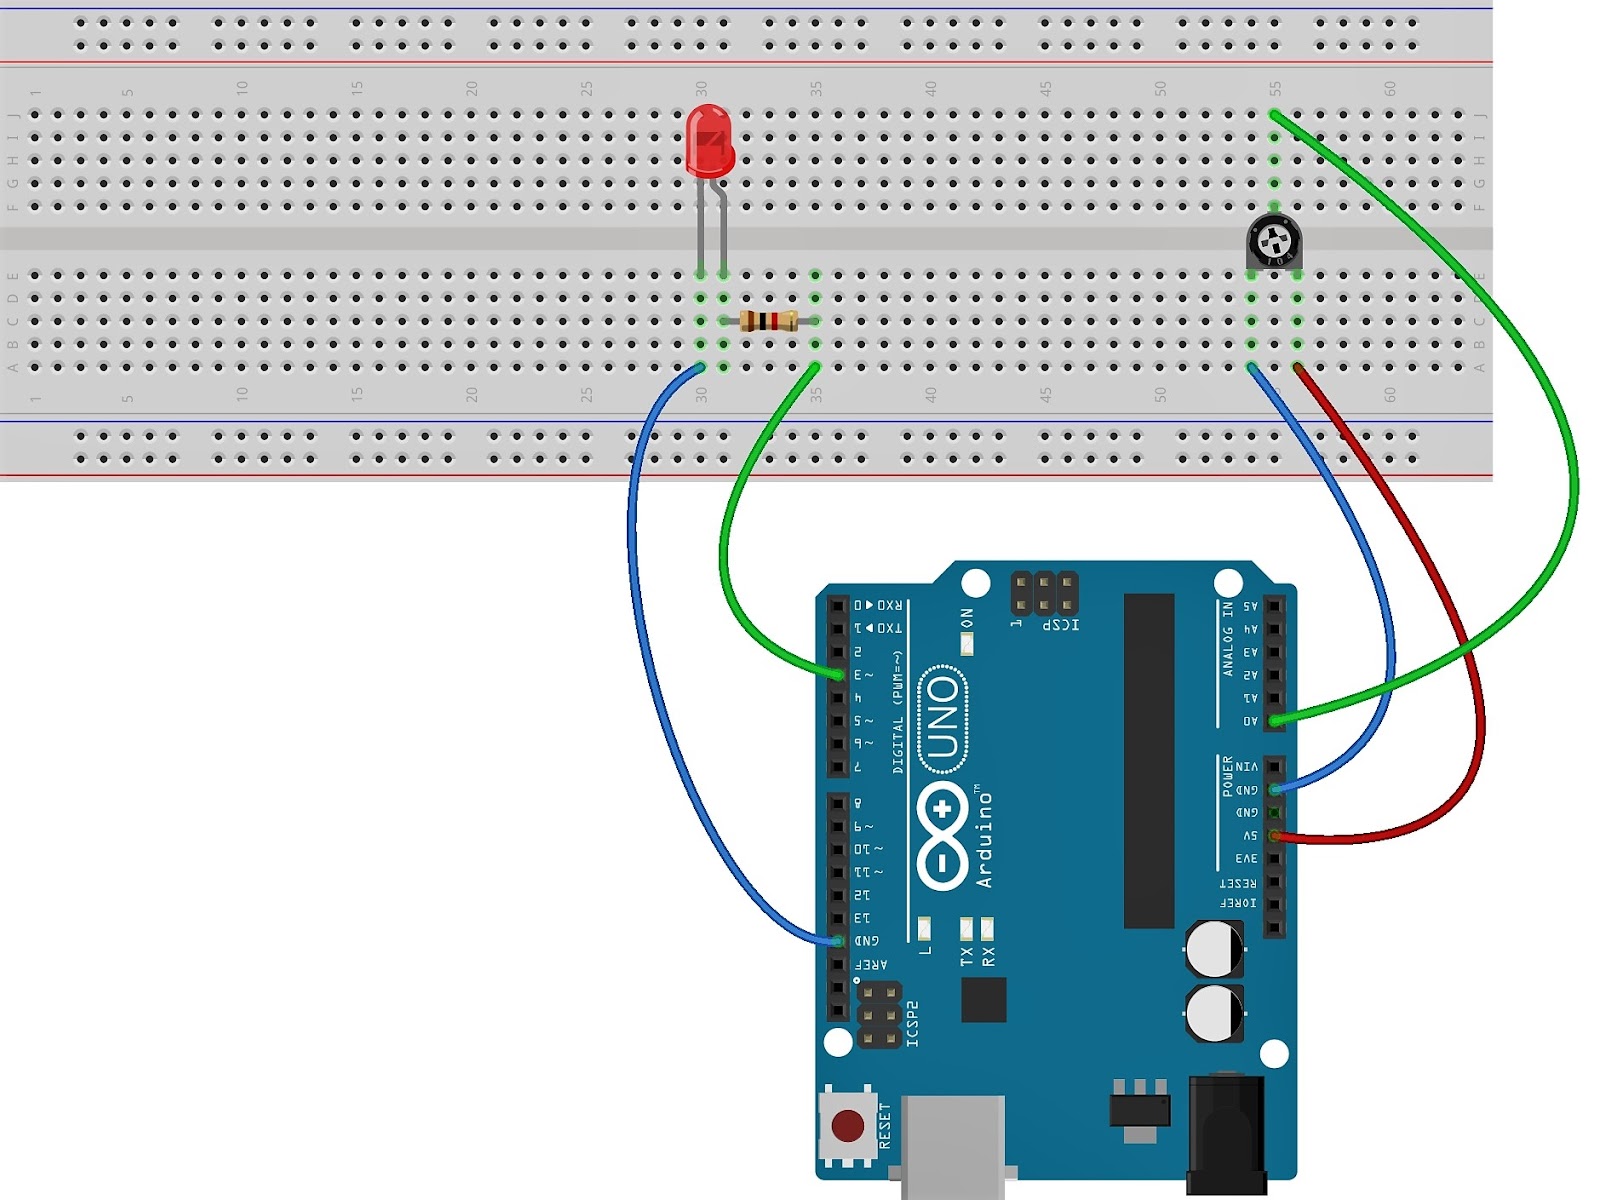
- To control the brightness of a LED using potentiometer.
https://www.youtube.com/embed/jzSYn3A_l_M?rel=0Working with a Potentiometer
CODE
CodeArduino
const int analog_ip = A0;
const int LED = 3;
int inputVal = 0;
void setup() {
pinMode (LED, OUTPUT);
}
void loop() {
inputVal = analogRead(analog_ip);
analogWrite (LED, inputVal/4);
delay(100);
}
SCHEMATICS
Circuit Diagram

Schematic Diagram

Breadboard Diagram
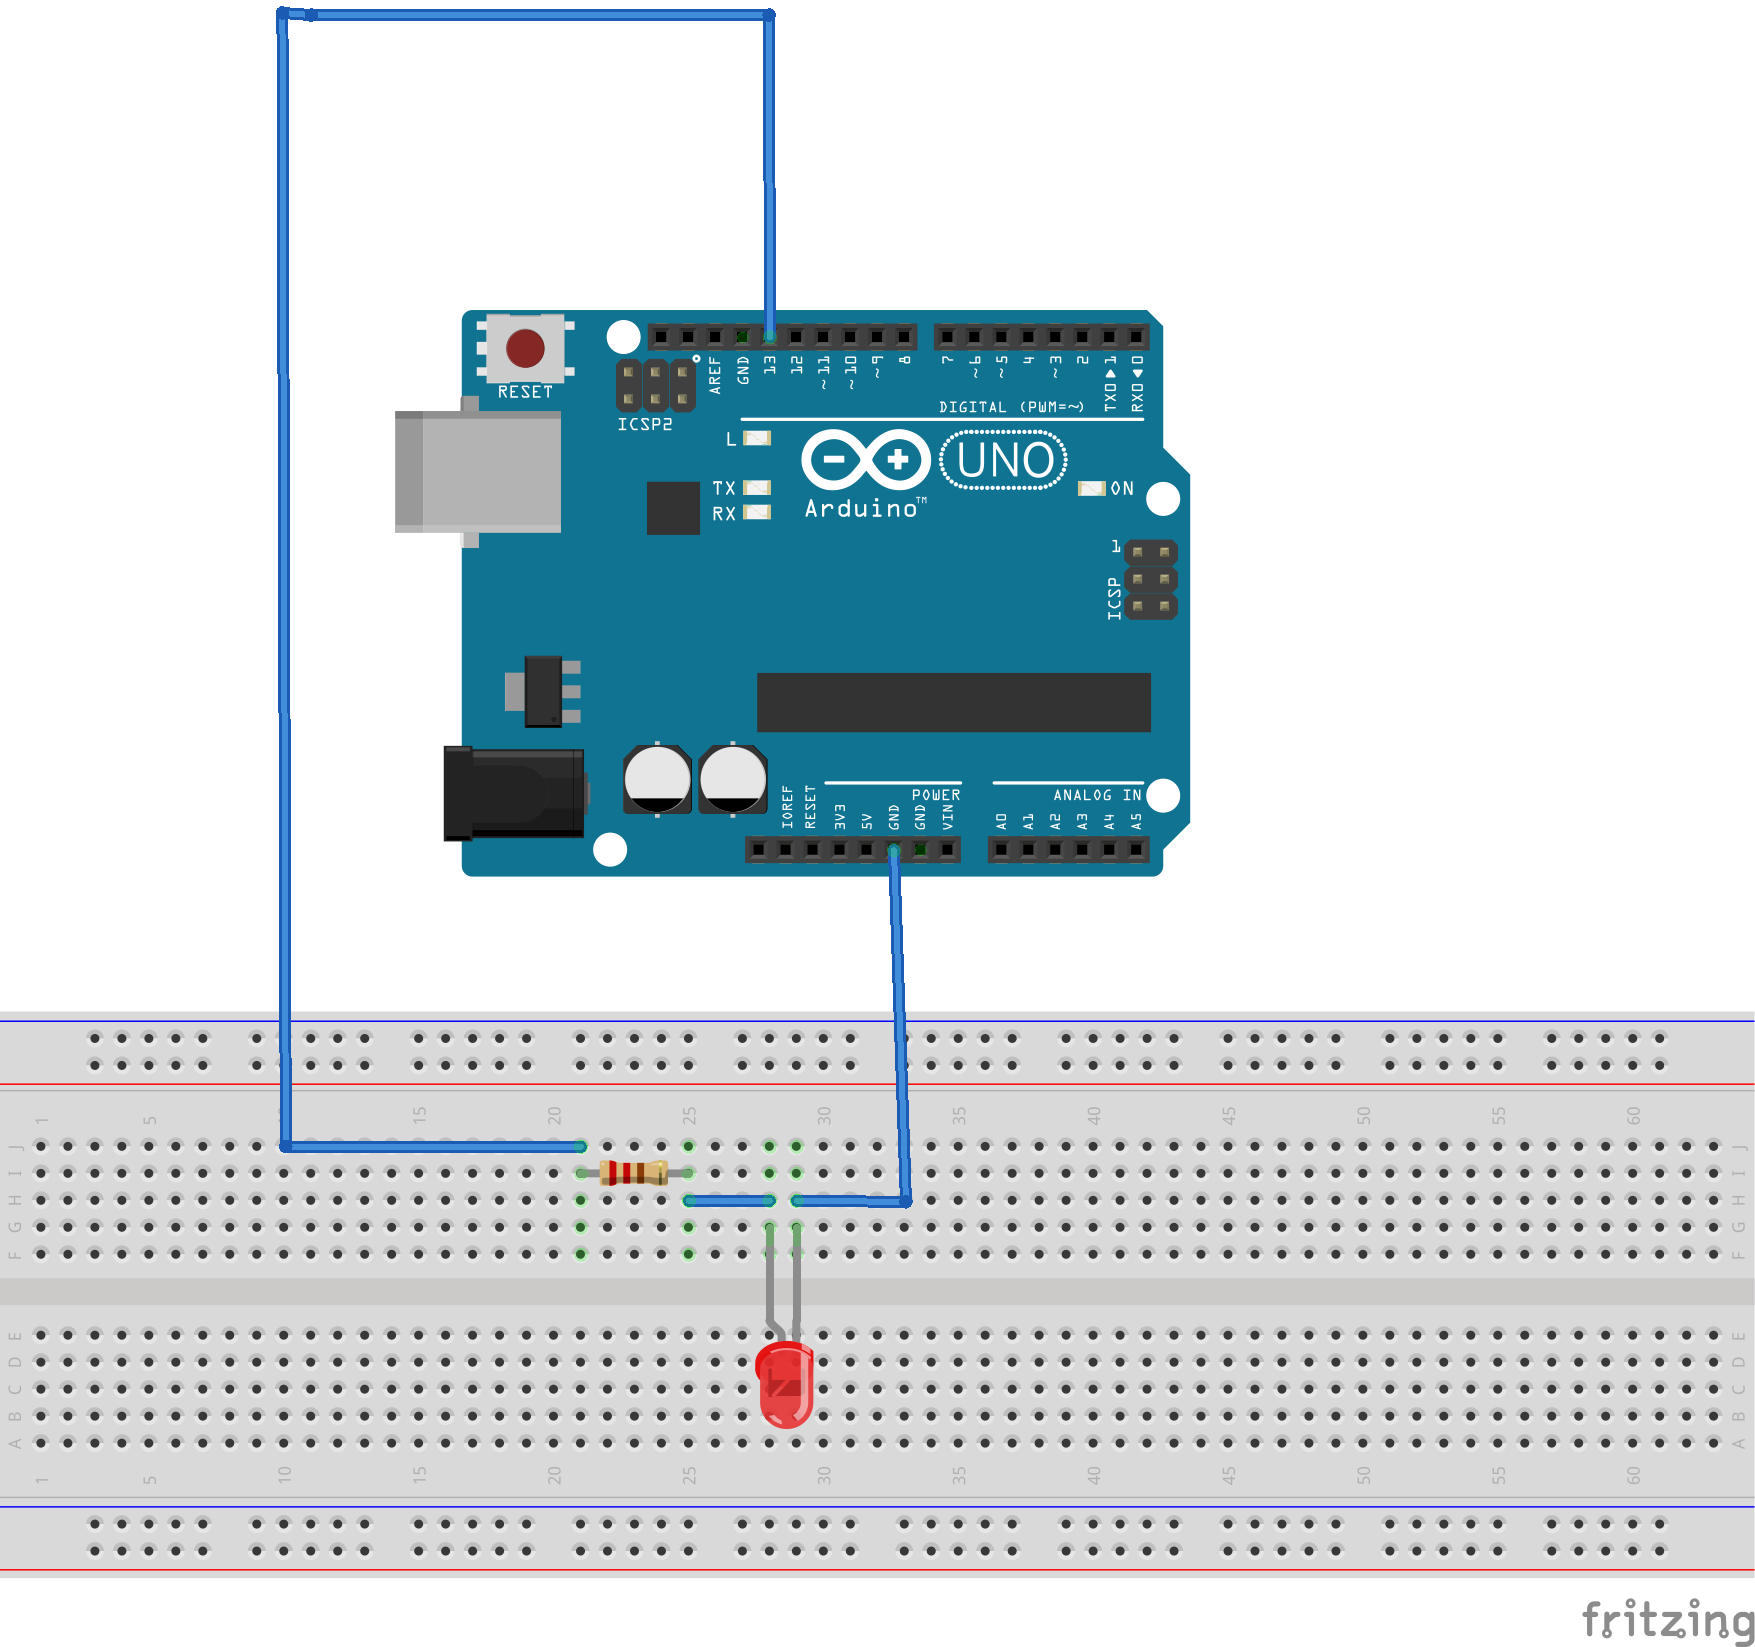
Make a Simple LED Circuit
by Rajnish | Sep 25, 2021 | Uncategorized | 0 comments
Make an LED turn on and/or blink.

COMPONENTS AND SUPPLIES
ABOUT THIS PROJECT
Turn on and/or blink an LED
CODE
- Simple Code
- LED Blink Code
Simple CodeArduino
Copy and paste this code into your Arduino IDE or Web Editor
#define LED 13 // The pin the LED is connected to
void setup() {
pinMode(LED, OUTPUT); // Declare the LED as an output
}
void loop() {
digitalWrite(LED, HIGH); // Turn the LED on
}
SCHEMATICS
Diagram
